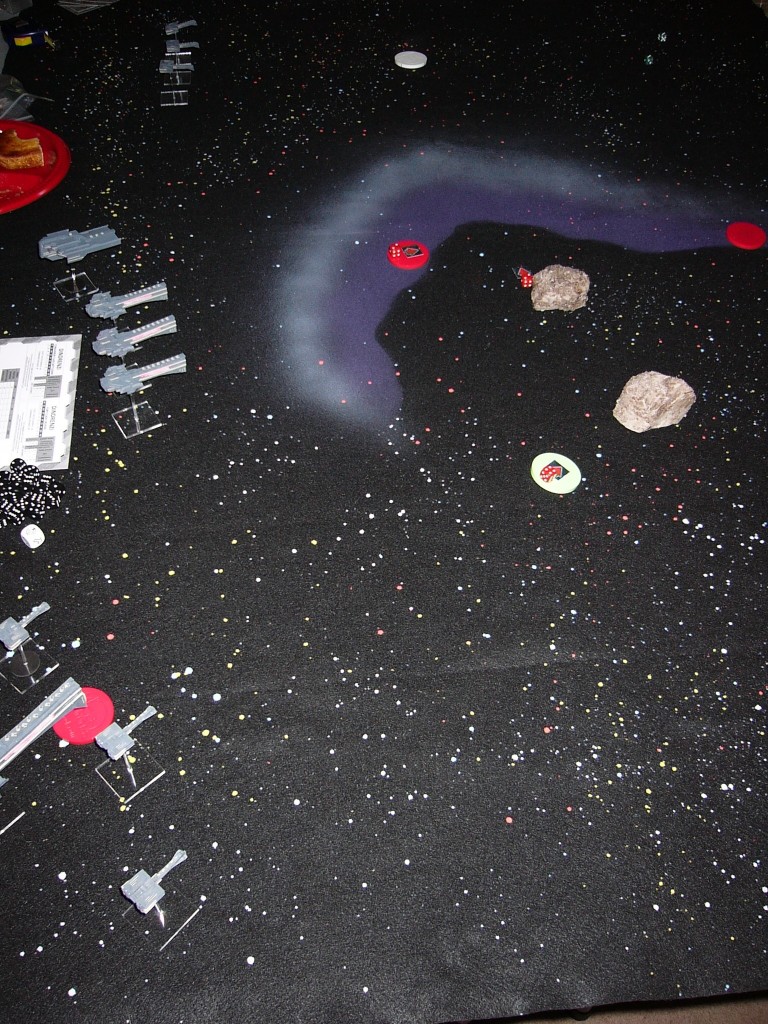
This Sunday, Bruce and I got in a very exciting game of Firestorm Armada. I’d debated with myself if I wanted to use my Terran or Dindrenzi fleet. Bruce was fielding his Relthoza, which I’ve lost to with Terrans twice, so I decided to try my luck with Dindrenzi.
 I’ve preferred using Terrans in the past for their flexibility and balance. Their powerful turrets on their Razorthorn give them the ability to have fairly powerful attacks in any direction, as well as fantastic torpedoes. The Dindrenzi, by contrast are focused almost completely in one direction. Their weapons are the most powerful in the game, but they also have the most limited arc of fire. If a Dindrenzi foe is good at maneuvering, and can keep from spending too much time in front of a Conqueror, they can own the battle.
Scenario: Rescue Mission
A large battle has just finished in this sector of space and the victors have left the wreckage of the defeated fleet to the ravages of open space. The crew of the destroyed ships are scattered along with the stranded crew in their escape pods. A salvage and rescue team has arrived, but the victorious fleet was waiting for them just out of sensor range. The trap is sprung and now the rescue team must gather as many of the survivors as possible and get out of there!
Setup:
- Roll off to determine which side is the Attacker.
- Starting with the attacker, deploy 3 red escape pods, 2 blue and 1 white. Determine movement for pods randomly if desired
- Deploy at least 2 meteorites. Determine movement randomly. These represent the wreckage of the destroyed fleet.
- Defender chooses a 12″ deployment zone along either long edge of the board, and deploys their entire fleet at once. The attacker will not deploy, his fleet will shunt in.
Special Rules:
- The game continues until all of the Defender’s fleet is removed from the table, either by shunting or being destroyed.
- Either fleet can capture escape pods. Red escape pods are worth the same Victory Points as a Defender’s frigate, Blue as much as a cruiser and White is worth a battleship.
- During the first round, the Attacking fleet will spend each squadron’s movement shunting in using the standard rules.
Report!
The roll-off dictated that I would be the Defender in the scenario. Knowing that the Dindrenzi specialize in long-mid range sniper style destruction, I deployed the Conqueror in the far corner, so that it would have the maximum number of chances to get off good shots before being surrounded. This also gave me a defensive advantage, as it would be too risky for the Bruce to try to shunt near my battleship. Chances are that he would have shunted right off the table.
The Relthoza fleet all shunted in safely around the center of the board and we both rushed for the objectives, taking what shots we could. The early to mid game was dominated by nonsense from my dice. I was unable to land solid shots with anything but my battleship, while the Relthoza frigates quickly ate up most of my fleet. Still, the Dindrenzi have superior speed and I was able to use that to gather the more valuable objectives, forcing to Relthoza to destroy my entire fleet if they hoped for victory.
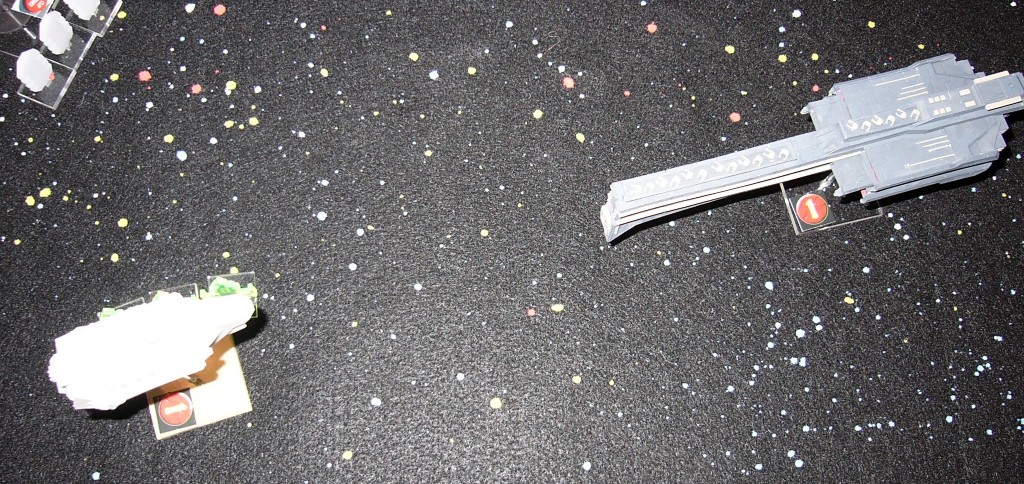
Like most Firestorm Armada games I’ve played, the game came down to two damaged battleships circling each other. However, the Relthoza found themselves in the following situation:
The Relthoza ships focus almost all of their firepower to starboard and port, while the Dindrenzi are all fixed fore. One good shot was all I needed to clean up this game.
Of course, the dice decided otherwise, and my Conqueror ended up drifting past, getting set on fire and stuck trying to make a U turn while facing the worst of the Relthoza broadsides. Rather than risk a complete loss, I took the cowards way out and shunted the Conqueror off the board to give my opponent half-points. Once victory points were tallied, I managed to squeak a decisive victory.
A few highlights:
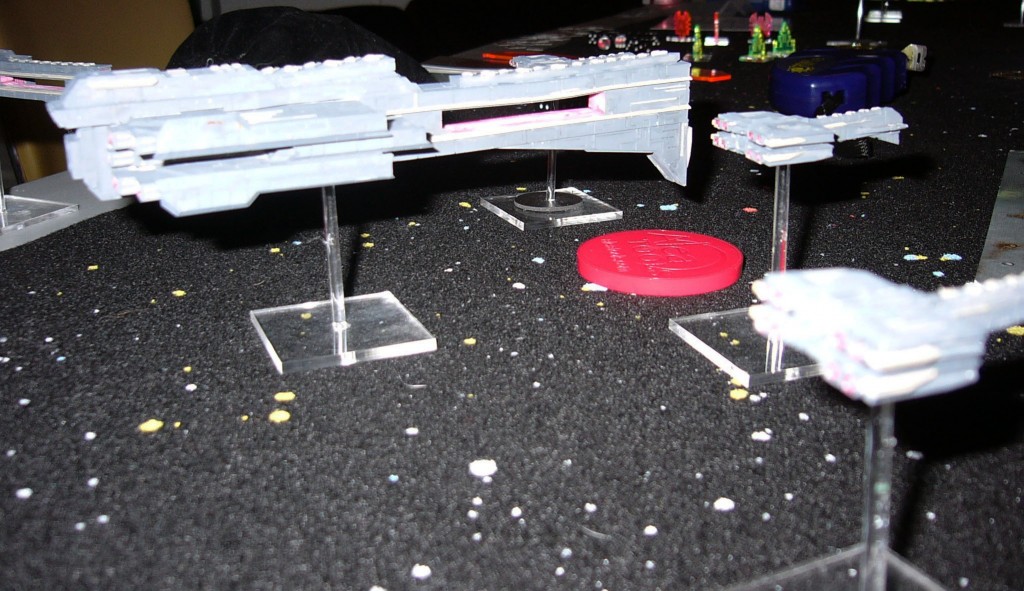
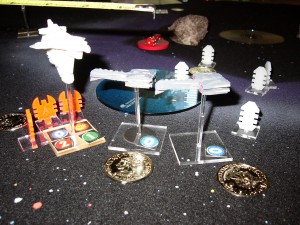 This is the remains of a daring attempt of me trying to perform a boarding assault of a limping Relthoza cruiser. I had come in with 3 assault wings and two fully loaded frigates. The cruiser was on fire and had reduced crew and point defense. But the dice, again, were not with me and I left this battle with all of my assault teams exhausted and 1 crew point remaining on the cruiser. It broke my cruel little heart.

